How to Deploy FRP on Dokploy Platform
.jpg)
Shawn Shen
Founder of Selofy
min read
Deploy FRP on Dokploy to expose local services securely. This guide covers server/client setup, firewall, and domain mapping for beginners.
Watch Video Tutorial
Deploying FRP on Dokploy Platform
This guide explains how to run FRP (Fast Reverse Proxy) on Dokploy so you can route public HTTPS traffic to internal services or local dev.
Prerequisites
- Dokploy instance with Docker runtime
- Domain pointing to Dokploy server
- Basic knowledge of Docker Compose
Architecture
frps(FRP server) runs on Dokploy with public ports openfrpc(FRP client) runs locally, connecting tofrps- You map your domain to local dev server via FRP
Step-by-step Setup
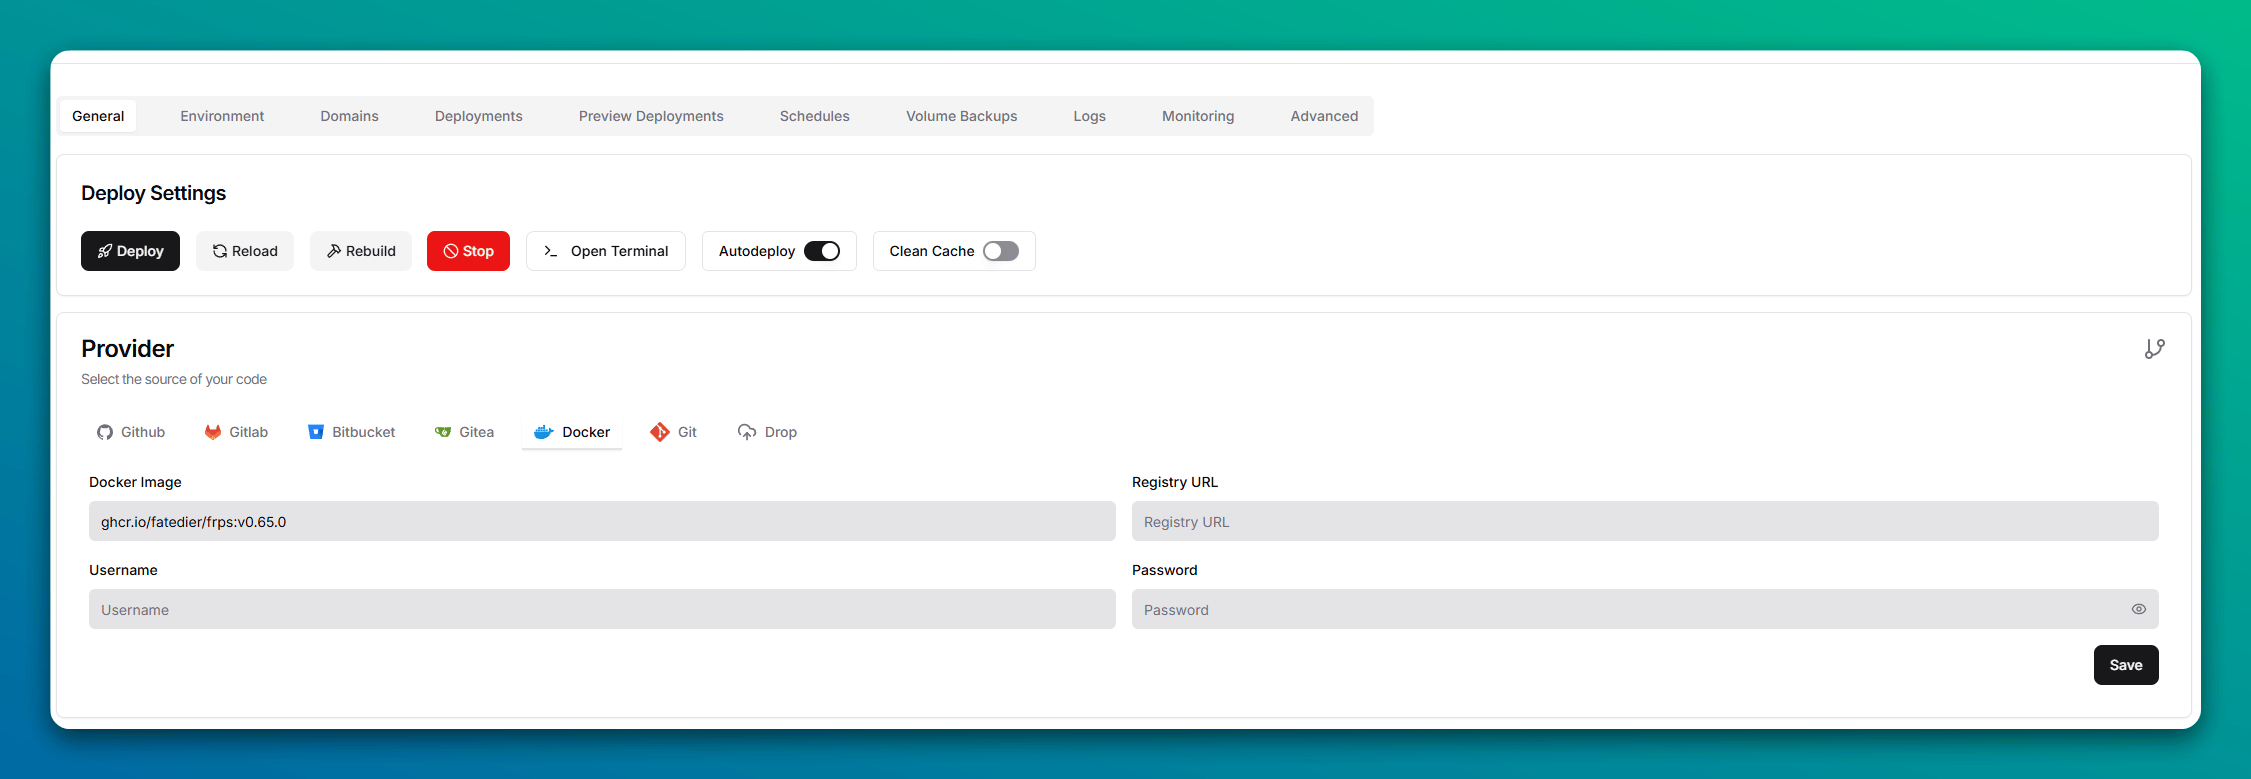
1) Create FRP Server on Dokploy
1.1Create a Docker Compose app in Dokploy:
Docker Image: ghcr.io/fatedier/frps:v0.65.0
1.2 Edit run commadn:
frps --bind_port 7000 --token "YOUR-TOKEN" --dashboard_port 7500 --dashboard_user admin --dashboard_pwd "YOUR-PASSWORD"
(Input any token number & pwd you like)

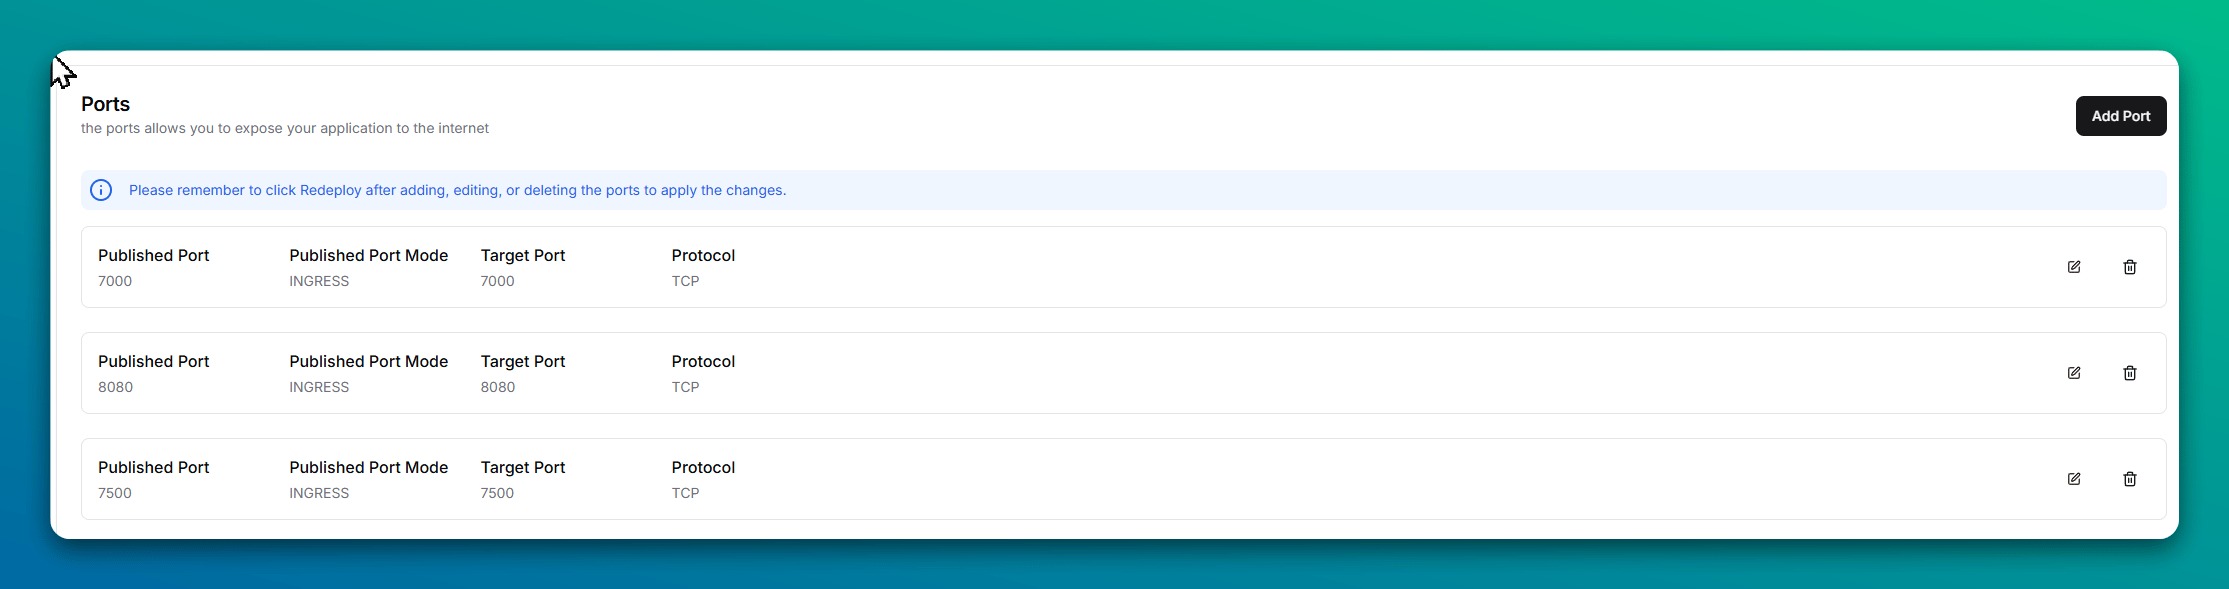
1.3 Set Port
2) Configure DNS and Firewall
- Point
your-domain.exampleA/AAAA to Dokploy server IP. - Ensure ports 80/443/7000 are open on firewall/cloud provider.
3) Run FRP Client Locally
frpc.ini:
[common]
server_addr = your-dokploy-ip
server_port = 7000
authentication_method = token
token = YOUR_STRONG_TOKEN

[shopify-dev]
type = http
local_ip = 127.0.0.1
local_port = 3001
custom_domains = your-domain.example
Start frpc:
frpc -c frpc.ini
4) Optional: TLS termination
- If you want TLS at FRP, use
vhost_https_port = 443and ensure certificates are managed (e.g., via a reverse proxy like Caddy or Nginx in front of FRP, or use Cloudflare SSL mode "Full").
5) Validate the pipeline
- Visit
https://your-domain.exampleand confirm it shows your dev app. - Run
shopify app dev --tunnel-url https://your-domain.example:443for seamless previews.
References
- FRP project: https://github.com/fatedier/frp
- Dokploy docs: https://docs.dokploy.com/
- Docker Compose: https://docs.docker.com/compose/